Have you been scrolling through Instagram looking at gorgeous nail designs and thinking there is no way you could ever do that yourself? Think again. Learning how to do nail art at home for beginners is much easier than it looks, and the best part is that you do not need expensive tools or professional training to get started. With a few basic supplies, a little patience, and the right guidance, you can create stunning designs right at your own kitchen table.
The secret that most beginners do not know is this — great nail art is not about being an artist. It is about knowing the right techniques and starting simple. This guide will walk you through everything from the tools you need to the easiest beginner designs you can try today, step by step.
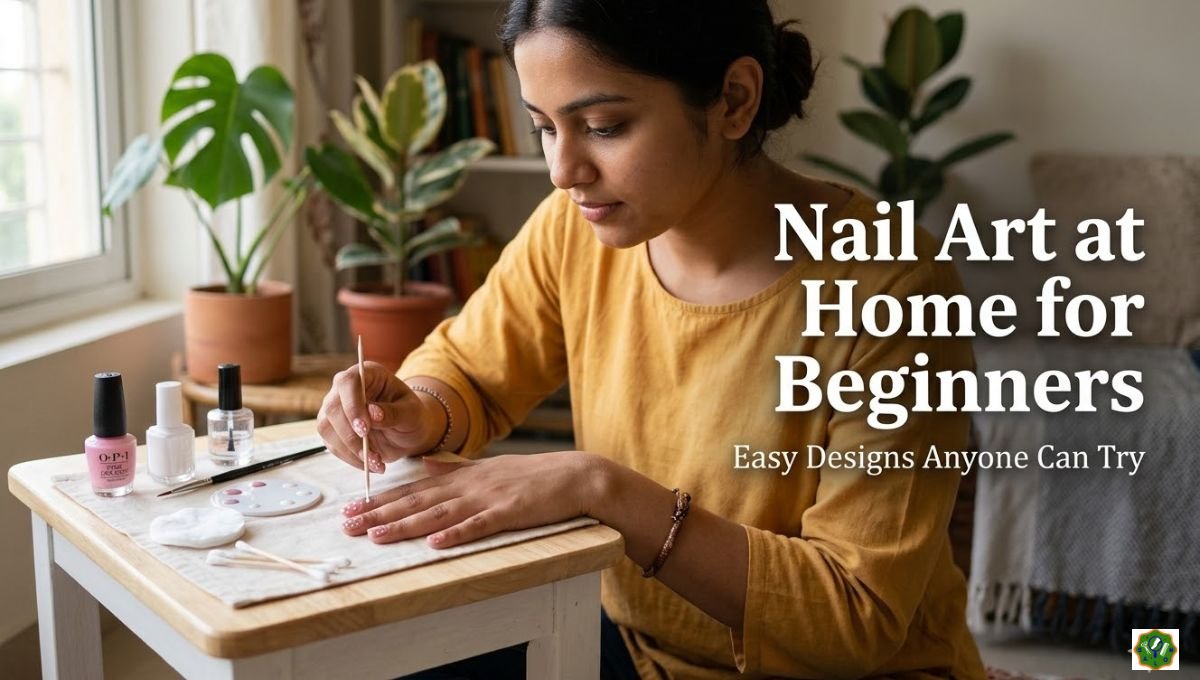
How to Do Nail Art at Home for Beginners: The Complete Starter Guide
Gather Your Basic Tools First
You do not need a huge kit to get started. In fact, most beginner nail art can be done with things you already have at home. Here is what you need to begin:
- A base coat and top coat
- Two or three nail polish colors you like
- A toothpick or bobby pin for dotting
- Clear tape or striping tape for lines
- A thin brush or an old eyeliner brush for detail work
- A makeup sponge for gradient effects
- A dotting tool if you want to invest in one inexpensive item
That is truly all you need to create five to six different beginner designs. You do not need to buy everything at once — start with what you have and add tools slowly as you get more comfortable.
Prep Your Nails Before You Start
This step is non-negotiable. Skipping nail prep is the number one reason beginner nail art does not turn out well. Good prep gives your polish something to hold onto and makes your design last much longer.
Step-by-Step Nail Prep
Start by removing any old polish completely. File your nails into your preferred shape — round, square, or oval all work well for nail art. Push back your cuticles gently using a cuticle pusher or the flat end of a bobby pin.
Wash your hands and make sure your nails are completely dry and oil-free. Apply a thin, even layer of base coat to all your nails and let it dry fully before moving on to any design. This protects your nails from staining and gives the polish a smooth, even surface to sit on.
Practice on Paper Before You Paint
This is a tip that makes a huge difference for beginners. Before applying any design to your nails, practice the pattern on a piece of paper first. Draw dots, lines, or swirls on paper until you feel confident. It costs nothing, saves a lot of frustration, and helps you see how your design will look before it is on your nails.
Always Work on a Flat Surface
One of the most common beginner mistakes is trying to do nail art while moving around or sitting in an awkward position. Always sit down at a flat table with your hand resting firmly on the surface. This gives you much more control and keeps your hand steady while you work. Steadiness is everything in nail art.
5 Easy Beginner Nail Art Designs to Try at Home
Design 1: Polka Dot Nails
This is the perfect first design for any beginner. It is simple, fun, and always looks great.
Paint all your nails with your base color and let them dry completely. Pour a tiny drop of a contrasting color onto a piece of foil or a flat surface. Dip a toothpick, bobby pin, or dotting tool into the polish and press it gently onto your nail to create a dot. Repeat across the nail in any pattern you like — scattered dots, a row near the tip, or a diagonal line of dots all look beautiful. Finish with a clear top coat.
Design 2: Striped Nails Using Tape
This design gives clean, sharp lines with zero freehand skill required.
Paint your base color and let it dry fully — this step is very important. Place strips of clear tape or striping tape across your nail in any direction you like. Paint over the exposed sections with a second color. While the second color is still slightly wet, peel the tape off slowly and carefully. You will be left with perfectly clean stripes. Seal with a top coat immediately.
Design 3: Ombre or Gradient Nails
This design looks advanced but is actually very beginner-friendly when done with a sponge.
Paint your nail with a white or light base color. On a piece of foil, paint two colors side by side so they slightly overlap in the middle. Dab a makeup sponge onto the colors and then lightly sponge it onto your nail in a dabbing motion. Build up the color gradually by repeating the dabbing. Clean up the edges with a cotton swab dipped in nail polish remover. Finish with a top coat to blend everything together and add shine.
Design 4: Abstract Swirls
This one sounds hard but is actually one of the most forgiving designs for beginners. Because swirls are meant to look organic and imperfect, small mistakes actually add to the charm.
Apply your base color and let it dry. Dip a thin brush or toothpick into a contrasting color and draw soft, flowing squiggles across your nail. They do not need to be perfect — the more natural and loose they look, the better. Try doing two different colors of swirls for a bolder effect. Finish with top coat.
Design 5: Accent Nail
This is the easiest way to make your manicure look intentional and stylish with minimal effort.
Paint all your nails one solid color. Choose one nail on each hand — usually the ring finger — and paint it with a bold, contrasting color or add a simple design like dots or a stripe only to that nail. This is called an accent nail and it instantly elevates a basic manicure without requiring you to do detailed work on every finger.
Tips That Make Every Beginner Design Look Better
Apply thin layers. Thick polish takes forever to dry and smudges easily. Always apply two thin coats instead of one thick one.
Let each layer dry fully. Rushing between coats is the fastest way to ruin a design. Give each layer enough time to dry before adding the next.
Use petroleum jelly around your nails. Apply a thin layer of petroleum jelly or regular glue around the skin surrounding your nail before painting. Any polish that goes outside the lines will come off easily during cleanup.
Clean up with a thin brush. Dip a thin brush in nail polish remover and use it to clean up any polish that got onto your skin. This makes even imperfect nail art look neat and professional.
Always finish with a top coat. A good top coat seals your design, adds shine, prevents chipping, and makes your nail art last days longer. Never skip this step.
How Often Should Beginners Practice?
Consistency is how you get better at nail art. Try doing your nails every one to two weeks and challenge yourself to try one new technique each time. You do not need to perfect every design right away. Each time you sit down to paint your nails, your hand gets steadier and your confidence grows. Within a month of regular practice, you will notice a significant improvement in how clean and detailed your designs look.
Final Thoughts
Nail art is one of the most accessible and rewarding creative skills you can learn at home. You do not need talent, expensive tools, or hours of free time. You just need to start simple, practice consistently, and enjoy the process. Now that you know how to do nail art at home for beginners, the only thing left to do is pick up your polish and get started. Your first design does not need to be perfect — it just needs to happen.